Could there be a more perfect summer crop than sweet potatoes?
- Super easy to grow. Four months in the warm summer soil, and they’re ready to harvest and cure.
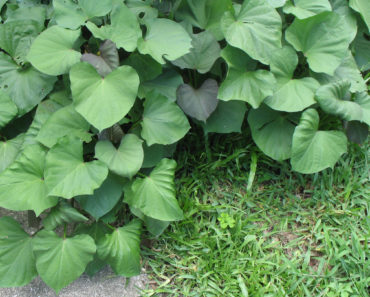
- Sweet potato plants fill an area quickly, which helps to shade-out summer weeds.
- In a season when fewer garden greens are available, the edible young leaves and shoots are a real bonus. They are great in stir fries and other dishes. Don’t overcook. Add near the end of the cooking process for best results.
- Once the sweet potatoes are harvested and cured, you have sweet potatoes! Need I say more?
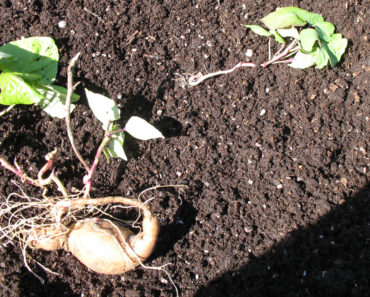
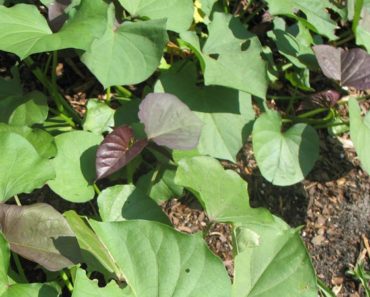
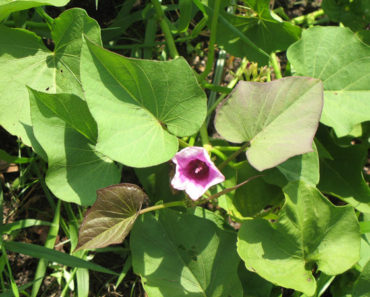
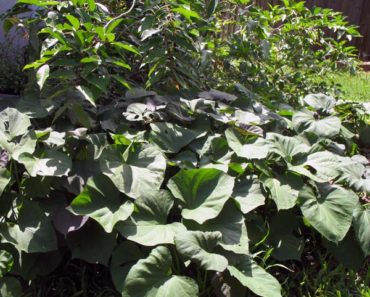
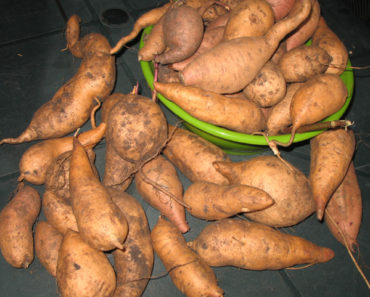
Sweet Potatoes for the Summer Garden. The plants in the following pictures are the variety called Bunch Porto Rico
UF/IFAS Links: Growing Sweet Potatoes – Sweet Potatoes from Slips
Acquiring and Planting Sweet Potato Slips
Sweet potato slips can be ordered for spring planting online, from many sources. These include general seed companies such as Park Seed and Burpee. Heirloom seed companies like Baker Creek and Southern Exposure, and farms that specialize in sweet potatoes like George’s Plant Farm.
When you receive notice that the slips are on their way, get the planting site ready. Remove weeds, and add compost or manure. Plant the slips as quickly as possible, after they arrive. They may look a bit limp, but they usually perk up after a good watering.
Once you have grown sweet potatoes in a location, you will probably find new plants volunteering the following spring. All it takes is a few fragments of root left behind during the previous harvest. They may also come up in your compost pile.
Start your own slips. Hold back a potato or two, and cover them with moist potting soil the following March. The slips will begin to sprout in a few weeks.
You can start slips from store-bought sweet potatoes, but there are a couple of potential problems. The large commercially-grown varieties require a lot of space. Some of the most commonly-grown varieties like Beauregard, are susceptible to nematodes.
Which Varieties to Grow
Space is always a consideration in my garden. so I prefer the bushier varieties. Bunch Porto Rico and Vardaman Bush have performed well for me. I appreciate George’s Plant Farm’s website because it gives clear descriptions of the varieties they offer. I would definitely avoid those varieties that are susceptible to rootknot nematodes.
Harvesting and Curing
Allow at least four months for the sweet potatoes to grow, before harvesting. If planted in April, they should be ready to harvest in September. I harvest mine while preparing to plant my fall vegetables. The size and shape of the tubers will not be identical. In fact, there is likely to be a lot of variation. We become so accustomed to Grade A vegetables, fruit and tubers that it is easy to forget that natural variations are likely to happen. Besides, it’s not really important. They will taste the same, regardless.
After curing, I fill my steamer with the smaller tubers, and the oddly-shaped tubers. Once cooked and cooled, the skins are easy to remove. I mash the sweet potatoes, then store in freezer bags in one-cup servings. Now they are ready to become ingredients in the various dishes I may want to prepare during the cooler months.
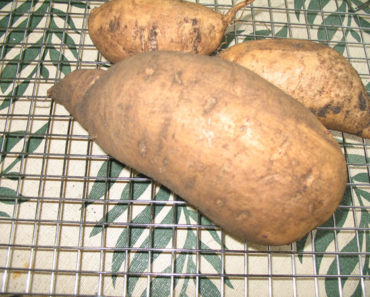
The curing process helps to convert some of the starches to sugars, to sweeten the sweet potatoes. The process requires a warm, humid and dark location. The UF source linked above suggests at least two weeks for curing. I go longer. My technique is very simple. I brush away loose soil, but do not wash at this point. Lay out the tubers in a single layer in cardboard boxes and store in the screen room. The garage works too.
Ornamental Sweet Potatoes
Ornamental sweet potatoes are frequently found at local garden centers. The plants may have purple of bright green foliage, and are useful additions to the landscape. They are in fact sweet potatoes that have been bred to look pretty. The tubers are edible, but they won’t taste much like sweet potatoes. If you want honest-to-goodness sweet potatoes, plant the slips of varieties that have been bred for flavor and texture.
